This is an automatically translated article.
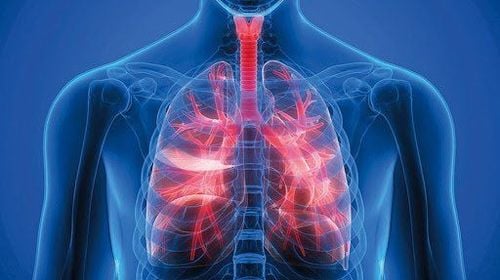
Breathing exercises to help expand the chest help strengthen the respiratory muscles and to create correct and effective breathing patterns. Breathing exercises are widely applied to treat patients wherever they are required. The article will guide some popular breathing techniques today.
1. Indications to perform breathing exercises
People who have any reason that affects breathing, or respiratory diseases will be assigned to practice breathing techniques. Patients with primary or secondary pulmonary disease, bronchospasm, or airway obstruction, atelectasis, cavernous fibrosis, pulmonary embolism, pulmonary edema, heart failure with pulmonary blood stasis or functional impairment pulmonary ventilation. Real cases of patients having surgery related to thoracic, cardiovascular, pulmonary, abdominal, scoliosis. Or cases of respiratory restriction due to obesity, musculoskeletal malformations, abdominal distention, bloating, pregnant women, patients who lie down for a long time due to paralysis or body weakness tend to reduce ventilation and cause respiratory problems. sputum sputum. Or cases of stress, anxiety, nervous breakdown,...
2. Breathing techniques to prevent respiratory disease
There are many breathing exercises to prevent respiratory diseases such as breathing from relaxing respiratory muscles, pursed lips breathing, chest breathing, abdominal breathing - diaphragmatic breathing to coordinated breathing with hand movements, breathing with coordinated movements of legs. , breathing exercises with equipment, breathing exercises and techniques to clear the obstruction.2.1. Breathing technique to relax the respiratory muscles The patient starts with the back and head straight, feet touching the ground, not leaning back on the chair. Both hands are placed on either side of the head. Then, the patient rotates the arm and elbow from front to back. And keep going back and forth. This exercise does from 10 to 20 times / time, with 2 to 3 times / set, and 2 to 3 times / day.
2.2. Pressed-lip breathing technique The patient begins in a supine or sitting position using the nose to inhale slowly and then blow out through the mouth similar to a whistle. This exercise is usually done from 10 to 20 times/practice, from 2 to 3 times/set of practice, and do from 2 to 3 times/day.
2.3. Chest breathing technique The patient will start with a supine or sitting position or one hand to the chest using the nose to inhale slowly, expand the chest and then blow out through the mouth similar to a whistle, deflate the chest. This exercise is usually done from 10 to 20 times/practice, from 2 to 3 times/set of practice, and do from 2 to 3 times/day.
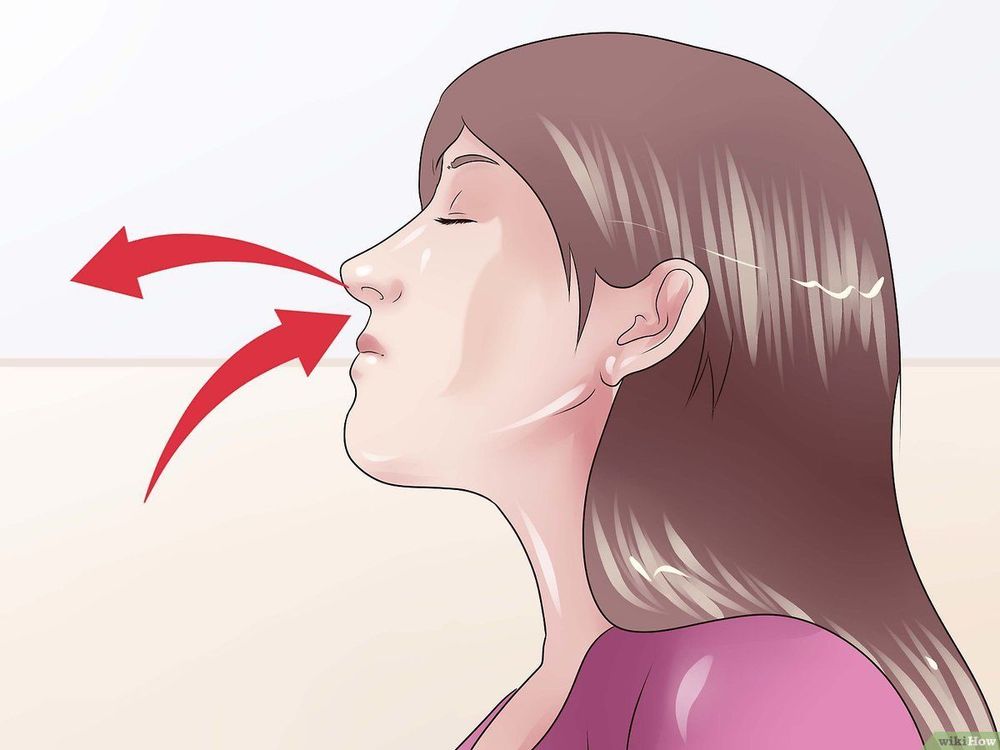
Có rất nhiều bài tập thở để phòng ngừa bệnh hô hấp như thở mím môi, thở ngực, thở bụng - thở bằng cơ hoành
2.4. Diaphragm breathing technique The patient is in a supine position, knees bent 45 degrees, hips rotated outwards. The technician will place one or two hands on the angle of the diaphragm according to the patient's breathing. When the patient exhales, the technician's hand makes gentle pressure on the chest. When the patient breathes into the chest against the technician's hand, and then lifts the abdomen.
The patient practices breathing in a sitting position with the condition that the patient relaxes, sits on balance, puts his hand on the edge of the diaphragm to continue breathing
The patient practices breathing in a standing position: the patient will breathe in front of a mirror so that he can breathe properly. Check your own breathing
The patient practices lobar or flank breathing: this exercise focuses on the injured area. And depending on the location of the injury, the technician puts his hand on the corresponding chest wall: the side, one or both sides, in front of the lower ribs...
All breathing exercises of the patient require inhalation. Inhale deeply and exhale slowly and evenly.
2.5. Breathing techniques combined with hand movements The patient starts with a lying or sitting position or lying on his side with extra pillows under the abdomen to increase the expansion of the right lung area. The patient then inhales slowly through the nose and raises the hand, then blows out through the mouth like blood and lowers the hand. This exercise is usually done from 10 to 20 times/practice, from 2 to 3 times/set of practice, and do from 2 to 3 times/day.
2.6. Breathing technique combined with leg movement The patient starts in a supine position with both arms and legs relaxed. Then, inhale through your nose and bring your left leg up, then exhale through your mouth and lower your leg. The patient repeats with the opposite leg. This exercise is usually done from 10 to 20 times/practice, from 2 to 3 times/set of practice, and do from 2 to 3 times/day.
2.7. Breathing Technique with Instrument The patient begins in a supine or sitting position. Then completely put the tip of the tube in the mouth and take a long and slow breath in, trying to hold the breath for as long as possible, then the patient exhales normally. This exercise is usually done 5 to 6 times / practice, 2 to 3 times / set, and 2 to 3 times / day
2.8. Techniques to clear obstructions Sneeze - protective reflex. Then, take a deep breath and close the epiglottis. Then, open the epiglottis, breathe rapidly through the nose and mouth.
Cough- reflex to protect the lower airway: The patient will take a deep breath, close the epiglottis, then open the epiglottis, breathe forcefully through the mouth.
3. Breathing techniques to improve health
3.1. Breathing technique while walking This technique combines breathing exercises with walking, suitable for the elderly, both simple and suitable for living conditions. Walking fast or slow, short or long will depend on the health capacity of each person. When walking, the practitioner combines with slow abdominal breathing and deep breathing according to the formula of 4 inhalations while having to expand the abdomen, 2 steps of stopping breathing, then 8 steps of exhaling, drawing in the abdomen. Exercise helps to calm the mind and relax.

Kỹ thuật thở khi đi bộ thích hợp với người cao tuổi, kết hợp thở bụng chậm và thở sâu
3.2. Equally 4-stroke breathing technique This technique begins with the first phase, the patient will inhale slowly and gently through the nose, taking a deep breath that lasts until it is unbearable. At the same time, the abdomen expands. In the second phase, the patient holds his or her breath for the same time as when inhaling. Then breathe out slowly, gently and for a long time, and at the same time, the abdomen is fully drawn in, this time lasts as long as one stroke. Then four patients will hold their breath for as long as one tense. When the patient is just starting to exercise, the patient should be counted in each phase, then gradually increase the time by counting up.
This technique is a bit difficult in that you have to inhale to the maximum, hold your breath for a long time and then exhale slowly, few practitioners have the strength to hold their breath for such a long time but the muscles are still relaxed, while creating a comfortable facial expression.
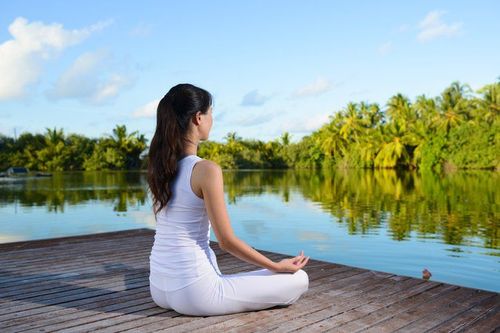
3.3. Yoga breathing techniques People who practice yoga can practice breathing in a lying, standing, or sitting position. However, the best recommended position is the lotus position.
Yoga breathing technique is very gentle, slow, regular in 3 phases: inhale, hold the breath and exhale. Or it can be applied in 4 phases: inhale to hold the breath, exhale and hold the breath.
Note that when applying yoga breathing technique, inhale and exhale must be evenly through the nose but do not let the nostrils rise and fall. Breathe in through the abdomen, inhale, the abdomen will expand, exhale, the abdomen will contract and the anal muscles will rise. For the yoga breathing technique, the mind is only fully focused on the breathing activity and the execution schedule of the breathing opening.
Please dial HOTLINE for more information or register for an appointment HERE. Download MyVinmec app to make appointments faster and to manage your bookings easily.
